What Preparation Is Needed for Interior Painting?
Painting the interior of your home can be a transformative experience. Whether you’re refreshing tired walls, changing the mood of a room, or preparing a property for sale, a good paint job starts long before the first brushstroke. Proper preparation is the foundation of a flawless, lasting finish and skipping steps can lead to peeling paint, uneven color, or damage to your surfaces.
In this comprehensive blog post, we’ll walk you through everything you need to know to prepare for interior painting like a pro.
Why Preparation Matters
Before diving into the steps, it’s important to understand why preparation is crucial:
- Ensures paint adheres properly
- Prevents stains, bumps, and imperfections from showing through
- Protects your furniture and flooring
- Helps achieve clean lines and a professional look
- Extends the life of your paint job
Step 1: Plan the Project
1. Choose Your Paint Colors
Choose your paint colors thoughtfully. Consider how lighting, room size, and existing furniture will interact with your choice. Get samples and test them on the wall to see how they look at different times of the day.
2. Determine the Amount of Paint Needed
Measure your walls and calculate the square footage. Most paint cans include a coverage estimate (e.g., one gallon covers ~350-400 sq ft). Don’t forget ceilings, trims, or multiple coats.
3. Gather Supplies
You’ll need more than just paint and a brush. Here’s a checklist:
- Drop cloths or plastic sheeting
- Painter’s tape
- Sandpaper or sanding blocks
- Spackling compound and putty knife
- Cleaning supplies (sponge, bucket, mild detergent)
- Screwdriver (for removing switch plates and outlet covers)
- Ladder or step stool
- Paint trays, rollers, and brushes
- Primer (if needed)
Step 2: Prepare the Room
1. Remove or Cover Furniture
Take out as much furniture as possible. Cover anything remaining with plastic sheeting or cloth drop cloths to protect from dust and paint splatter.
2. Protect Floors
Lay down canvas or plastic drop cloths to prevent spills and drips from damaging your flooring. Tape them in place if needed to keep them from moving around.
3. Remove or Cover Fixtures
Take off switch plates, outlet covers, curtain rods, and any wall hangings. Light fixtures can be removed or carefully masked with painter’s tape and plastic.
Step 3: Clean the Walls
Dirty walls can prevent paint from adhering properly. Dust, grease, and grime must go.
1. Dust and Wipe Down
Use a duster or vacuum with a brush attachment to remove surface dust. Then wipe the walls with a damp sponge and mild detergent.
2. Remove Grease and Stains
For kitchens or heavily used areas, you may need a stronger degreaser. Rinse thoroughly and let everything dry completely before proceeding.
Step 4: Repair and Patch
1. Fill Holes and Cracks
Use spackling paste or wall filler to patch nail holes, dents, or cracks. Smooth it with a putty knife and let it dry completely.
2. Sand the Surface
Once patched areas are dry, sand them smooth. Also sand any glossy surfaces lightly to help the new paint adhere better.
3. Clean Up Dust
Wipe walls again with a damp cloth or tack cloth to remove dust from sanding. Dusty walls can ruin the finish of your paint job.
Step 5: Tape and Mask
1. Apply Painter’s Tape
Use painter’s tape to mask edges around windows, trim, baseboards, and ceilings. Press the tape down firmly to prevent paint from bleeding underneath.
2. Cover Anything You Don’t Want Painted
Use plastic sheeting or newspaper to cover fixtures, vents, and furniture if needed.
Step 6: Prime the Walls (If Necessary)
Not every paint job needs a primer, but it’s essential in certain situations:
- You’re painting over a dark color with a lighter one
- The wall has stains or marks that might bleed through
- You’re painting new drywall or bare wood
- The existing surface is glossy or previously oil-based
Use a high-quality primer appropriate for your wall type and let it dry fully before applying the topcoat.
Step 7: Final Checklist Before Painting
- ✅ Walls are clean and dry
- ✅ Holes and cracks are patched and sanded
- ✅ Dust is wiped off
- ✅ Floors and furniture are protected
- ✅ Tape is applied to trim and edges
- ✅ Primer (if needed) is applied and dry
- ✅ You have all supplies ready to go
Now you’re ready to open the paint can!
Bonus Tips for a Professional Finish
- Work in natural light when possible to catch drips or uneven coverage
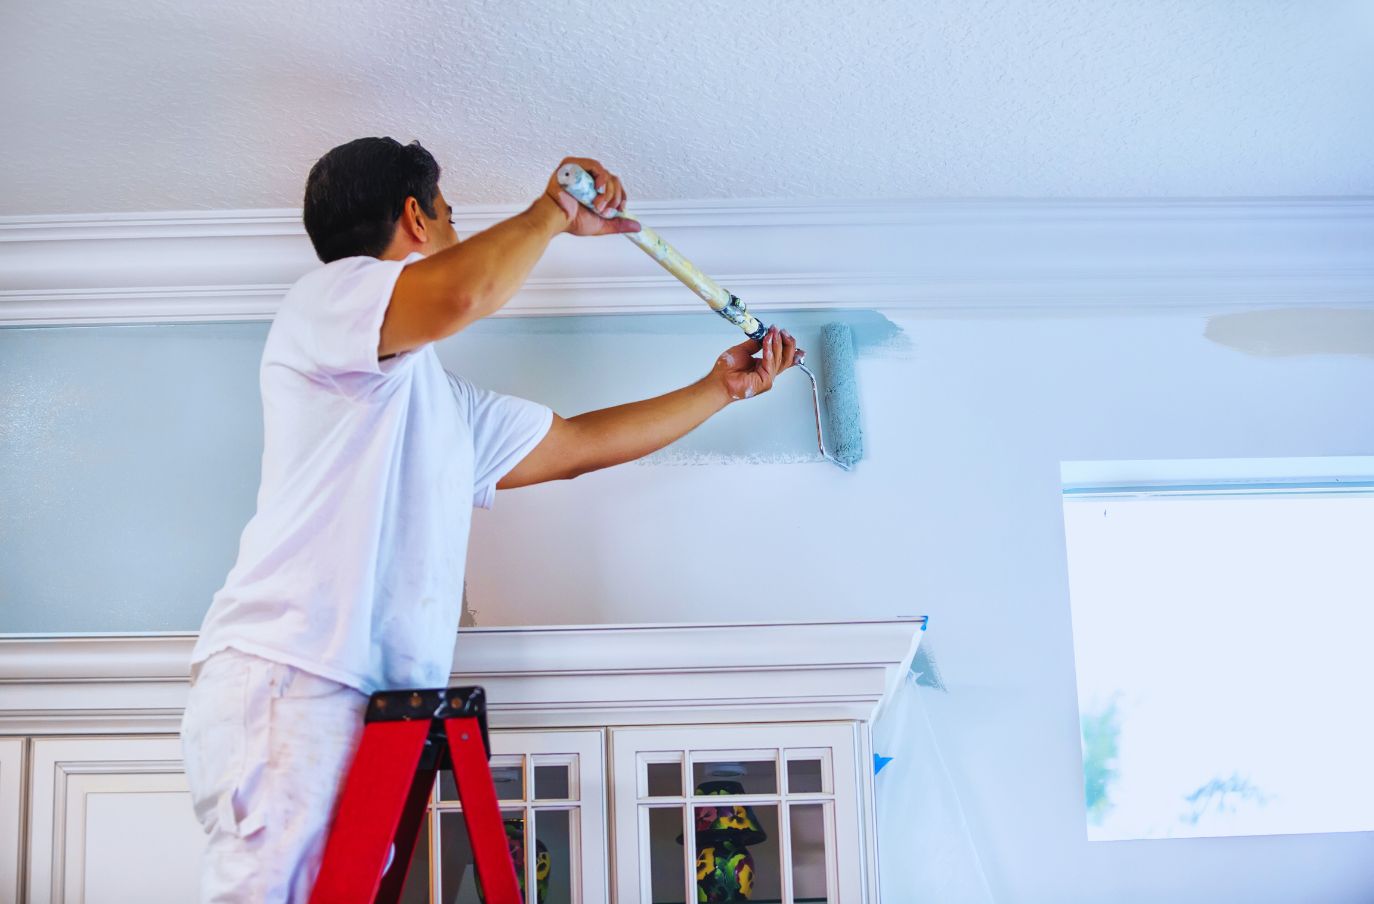
- Start from the top (ceilings) and work your way down (walls, then trim)
- Use the “W” technique with a roller for even coverage
- Don’t skimp on drying time between coats, follow the manufacturer’s recommendations
- Remove painter’s tape while the paint is slightly wet to avoid peeling
Conclusion
Proper preparation for interior painting may take time, but the results are well worth it. Skipping steps or rushing through prep often leads to disappointment, while a carefully prepared space gives you the best chance at a clean, professional, and long-lasting result.
Whether you’re a weekend DIYer or hiring a house painter, taking the time to do it right will make your walls and your entire home shine.


